
Disclosure: This page may contain affiliate links. If you purchase a product from one of our links, we could receive a commission from the seller, however, these do not influence our editorial choices. We aim to recommend products we believe in and to not mislead our audience. Learn More »
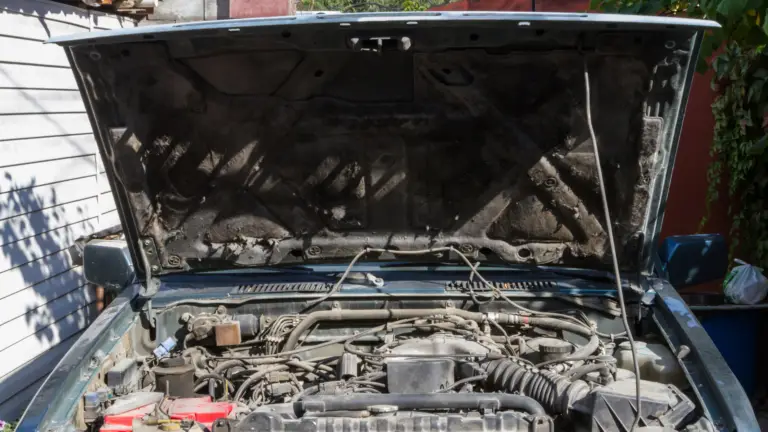
The hood pad under the hood of your car is a multi-purpose item that dampens engine noise, acts as a fire suppressing blanket if the engine catches on fire, and protects the paint on the hood from heat damage.
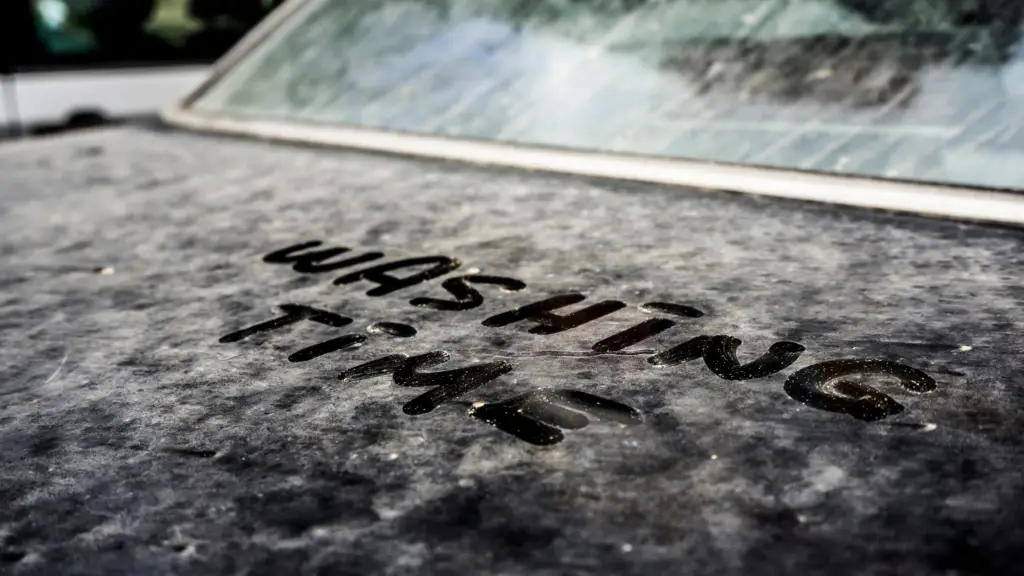
It also picks up dirt and grime over time, which makes it look unpleasant. We’re sharing with you our tips for how to clean the insulation under the hood of your car and keep it looking factory-perfect.
What You Need to Clean the Hood Insulation
You’ll need rags, a bucket of water or a hose, and a cleaning fluid of your choice. Is there a lot of grease in the hood insulation? You’ll want a de-greaser instead of a regular cleaner to get the oils out of the hood liner.
Not all hood liners are the same material, however, and therefore may not always work with the same cleaning fluids or de-greasers. As always, refer to your vehicle’s owner’s manual or maintenance documents as a first step.
Carpet cleaners aren’t a great option, however, many people get fantastic results with a tire cleaner, such as Armor All Tire Foam.
Cleaning the Hood Liner
Step 1: Remove and pre-clean your hood liner
Many hood liners are held in place with plastic clips, meaning that you can often easily unclip your liner. You may want to see if this is feasible with your vehicle to make cleaning it easier than bending over under the hood.
The other benefit here is that, depending on the composition or state of the hood liner insulation, you may be able to get a majority of the work done by hosing down the liner, either with a decently pressurized hose nozzle or a pressure washer.
As always, this may not be the right option for your particular liner, so be sure to test a small section of it first before spraying the whole liner.
Step 2: Apply cleaner or degreaser
Read the instructions on the cleaner before you start applying it to the hood liner. Some cleaners, especially de-greasers, may need to soak the fibers to lift out the oil.
Once you know how the cleaner should be used, start spraying the cleaner directly onto the hood pad. Don’t be stingy with the cleaner, especially if there is a lot of dirt and grime on the pad.
Step 3: Start wiping down the hood liner
After the cleaner has been allowed to work, soak a rag in water and wipe down the hood liner. Pay close attention to those areas that have a lot of soil to remove as much as you can during the initial pass with the rag.
You may need a second application of the cleaner to get rid of really tough stains. Keep cleaning until you’re satisfied with the appearance of the hood insulation.
Step 4: Rinse off the hood liner
Once you feel the hood pad is as clean as it can be, it’s time for the finishing touch with the hose. Take advantage of the water pressure from the hose by aiming directly at the hood liner.
If you didn’t remove the liner from the hood in step 1 (again, that was an optional step that may not be feasible for you), you won’t need to worry too much about spraying the inside of your engine compartment with water, especially indirectly when aimed at the hood.
The water that drips down on the engine won’t affect how the engine runs, and may also remove some of the grime that’s built up on the engine. After you’ve finished with the hose, it’s time to let the pad dry out.
Step 5: Dry the hood liner
If you removed your liner in step 1, this will be easy enough. Lay the liner flat (if it isn’t already) and keep in a dry place until it’s fully dried out.
If you didn’t remove the liner, be sure to keep your hood open so air can circulate around the hood liner and dry it out more quickly.
It’s important to get the hood insulation as dry as possible before closing. This prevents mildew and mold from forming and keeps the engine bay dry.
Step 6: Replace the hood liner if it’s damaged or too dirty to be cleaned

Sometimes it’s more work than it’s worth to clean something when it’s so far gone. If the liner is damaged, falling apart, or otherwise cannot be rescued you may want to just replace the liner.
Thankfully, most hood liners are fairly inexpensive and you can often find your replacement easily through most auto parts stores. This is a fairly quick alternative to trying to clean the existing hood insulation and might be your last recourse.
Final thoughts
Cleaning the insulation liner under your hood isn’t the most difficult process in the realm of auto maintenance, but it’s often a quick win when it comes to punching up the visual appeal of your car.
Did we miss a cool trick or tip on this topic? If there’s something you’ve found that works particularly well, let us know in the comments below!